How to Make Basic Quilling Shapes for Beginners
 The building blocks for your quilling designs
Creating basic quilling shapes is really simple and takes very little time to learn. I came across an excellent video of how to make basic quilling shapes which was aimed specifically for making basic quilling shapes for beginners.
Here are some of the stills from the video with a selection of the basic shapes that you can make to build your quilling artwork.
Basic Equipment
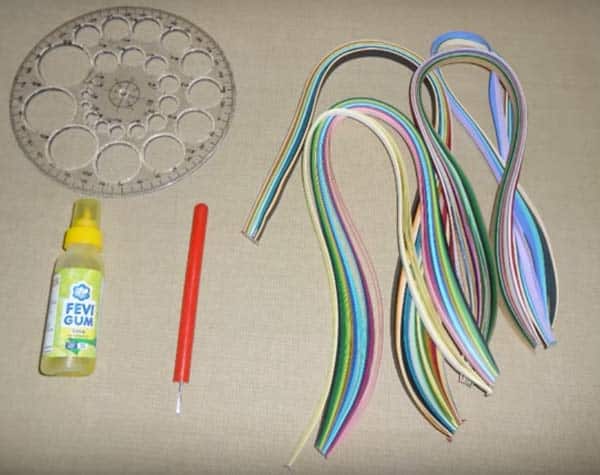 Before you start you will need some bas equipment. Some you can improvise and some you need to buy. The basics include:
- Quilling paper strips
- Slotted tool
- Quilling needle
- Quilling shape board
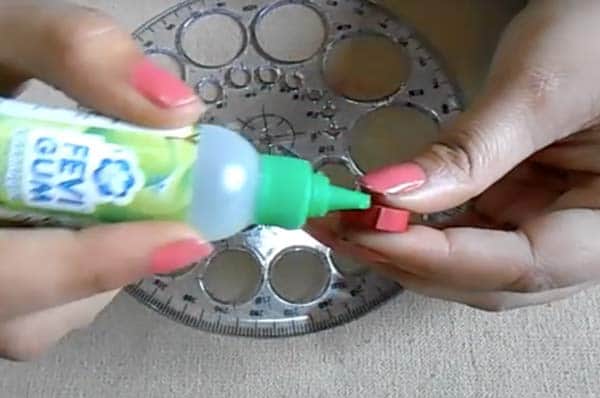
- Glue
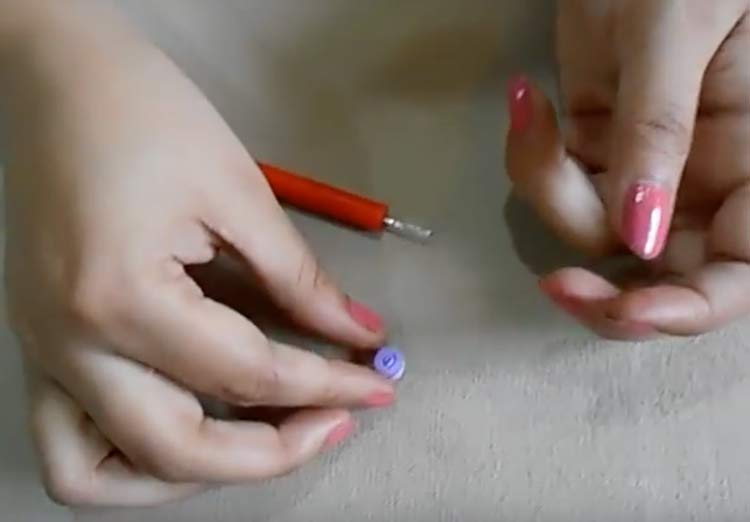
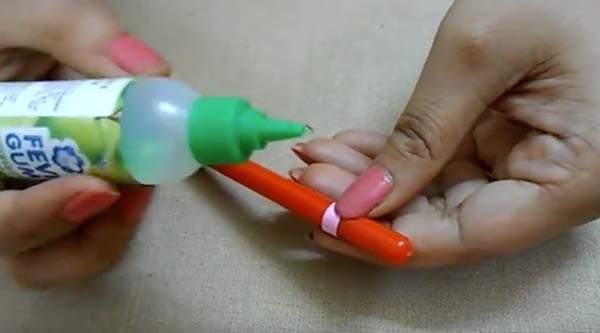
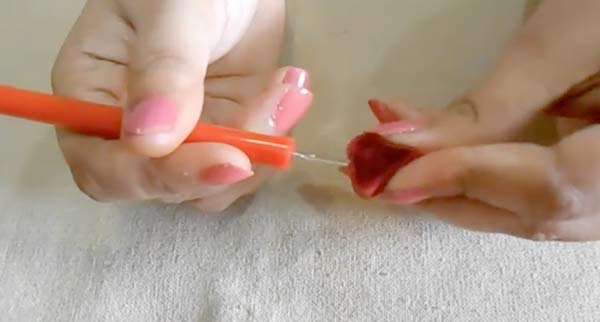
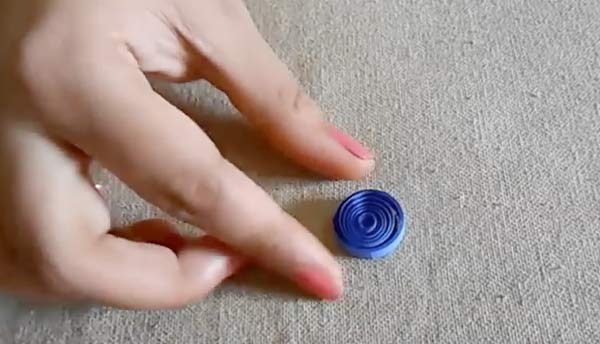
Tight coil
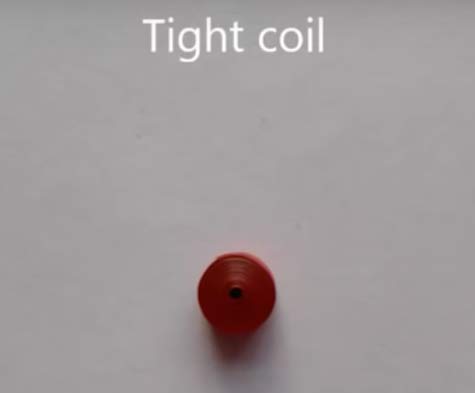
Take a single strip of quilling paper and feed one end into the slotted tool.
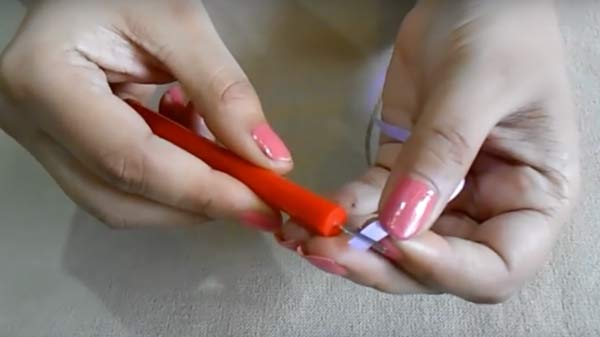
Wind the slotted tool until you have created a nice tight coil
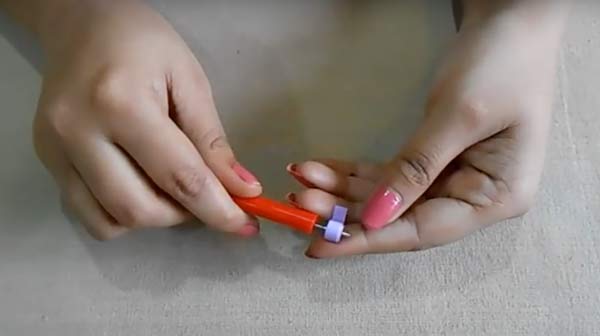
Carefully remove the tight coil from the slotted tool and glue the end.

Hold the coil together for a few second to allow the glue to grip and you have a finished tight coil.
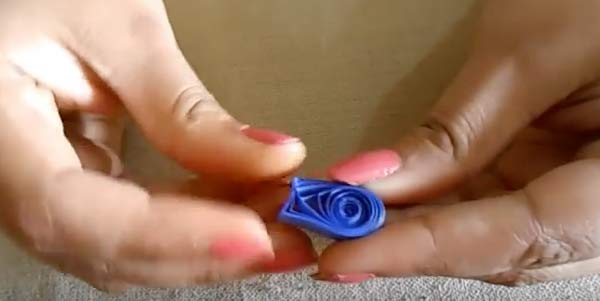
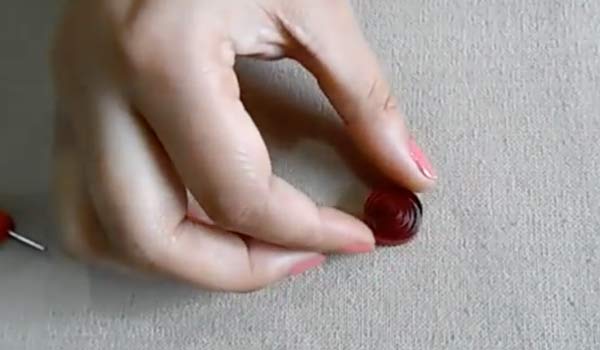
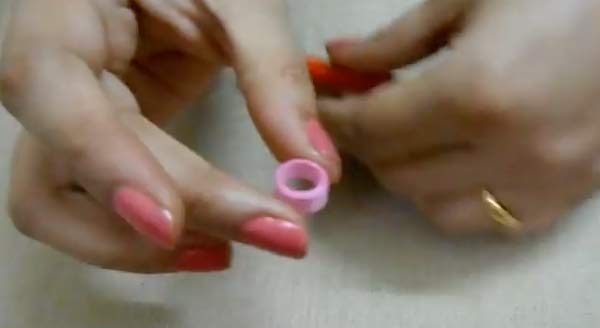
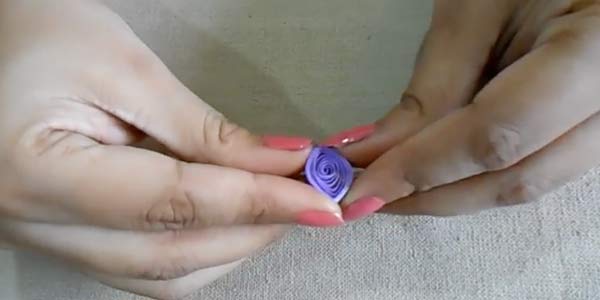
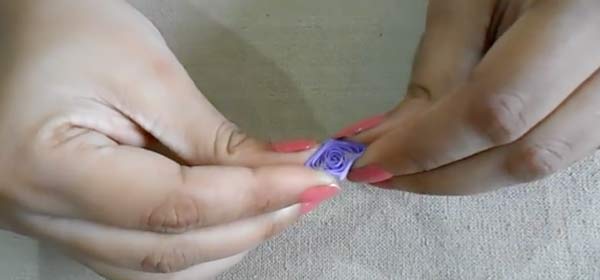
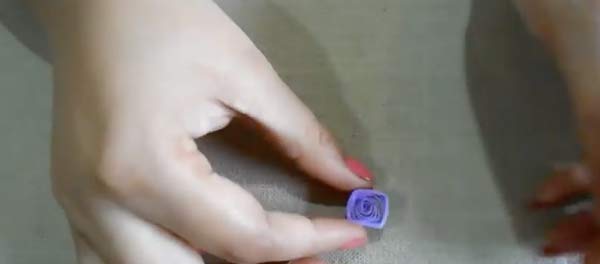
Loose Coil
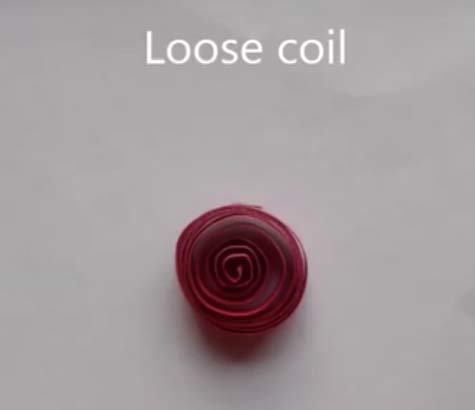
Feed the colored quilling strip into the slotted tool

Wind the quilling paper strip until you have a tight coil then remove it carefully from the slotted tool.
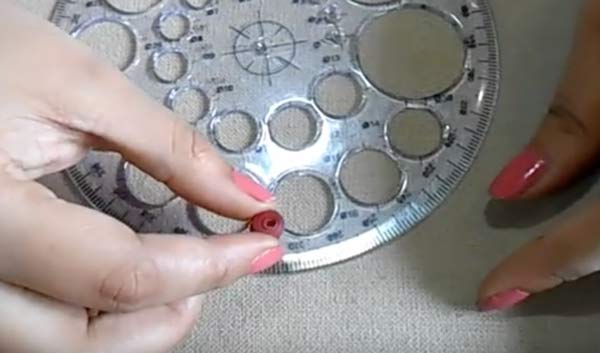
Place the tight could into the ‘quilling shape board’ and let the coil unravel to form a loose coil.
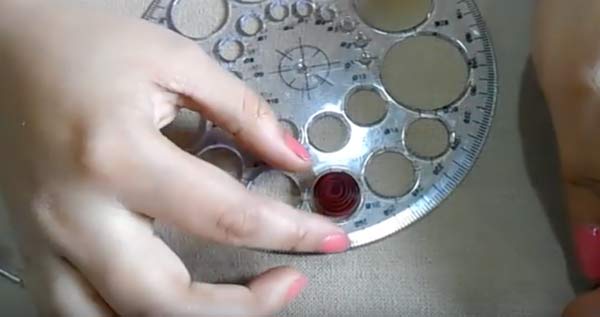
Remove the loose coil and glue the end
Gently hold the coil in place for a few seconds and the loose coil is completed.
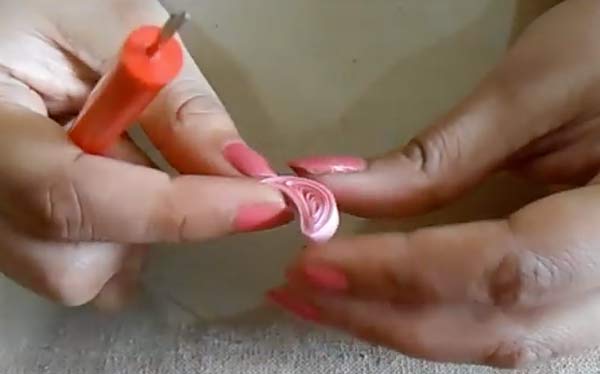
Tear drop
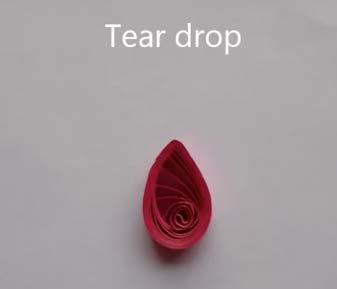
Make a loose coil then pinch the coil at one end
The ‘pinch’ turns the loose coil into a teardrop – easy but very effective.
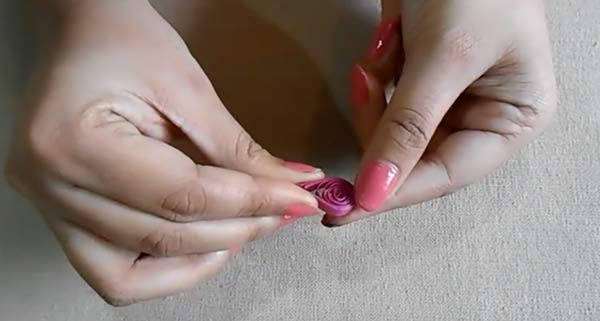
Curved teardrop
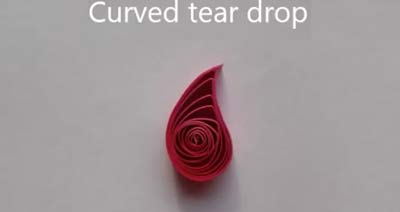
There are a couple of ways to do this. Using a loose coil you can shape it by hand by pinching and twisting one end. However the most effective and reliable method is to compress the loose coil around a pencil or quilling tool handle to get a nice consistent and smooth shape.
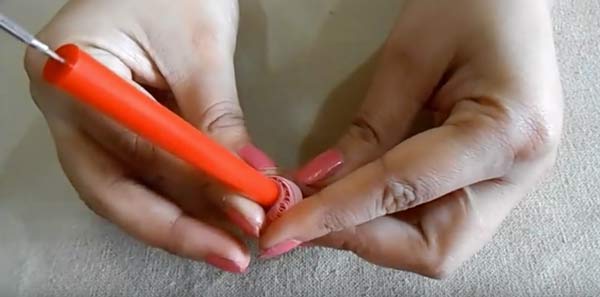
The result is very good and can be accurately replicated.
Ring Coil
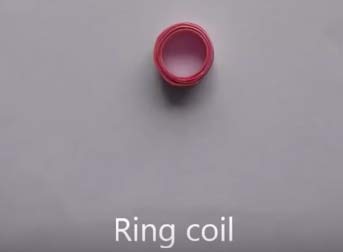
Loop the quilling strip around a round pencil or quilling tool handle once and glue together.
Wind the rest of the quilling paper strip around to form a tight coil and glue the other end. Press firmly together for a couple of seconds to let the glue bind.

Carefully remove and you have a completed coil ring.
Square
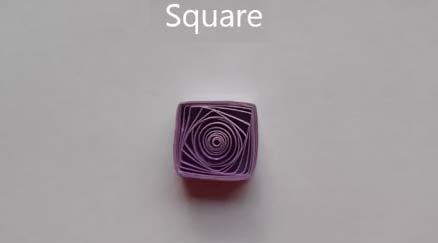
There are several ways to create a basic square shape from a loose coil. We have picked out the most straightforward (there are other variations which you can see in the video at the end of this article).
Take a loose coil and squeeze it between your fingertips.
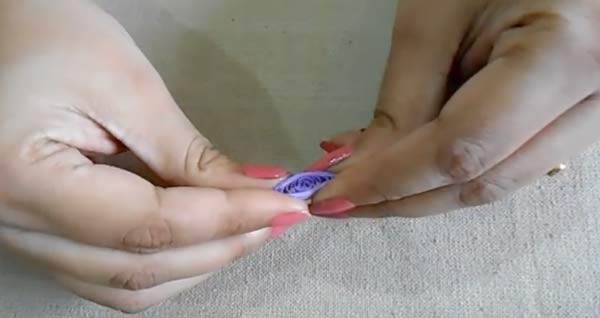
Turn the resulting ‘eye’ shape 900
And squeeze the other sides with the fingertips.
Gently pull the sides to form your basic square.
Heart

Create a teardrop and you will also need a tool such as the slotted quilling tool. While pinching the teardrop shape push the tool into the free end to make an indentation.
Carefully shape the sides with the fingertips and you have a basic heart shape.
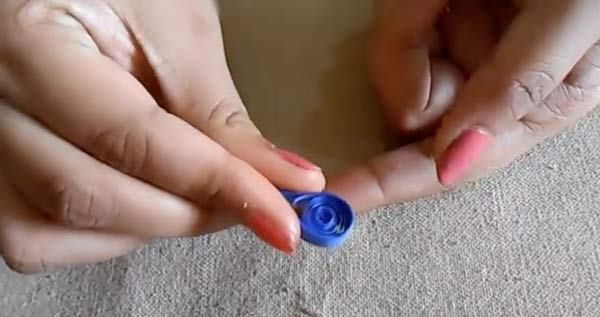
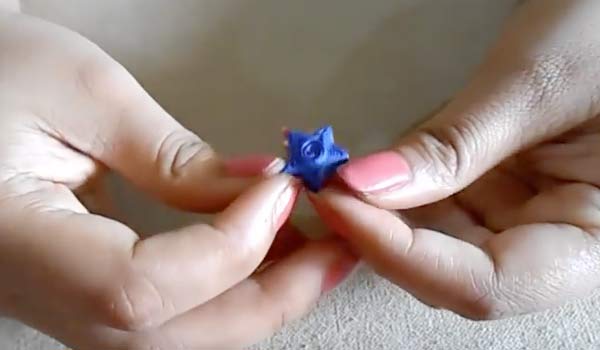
Star
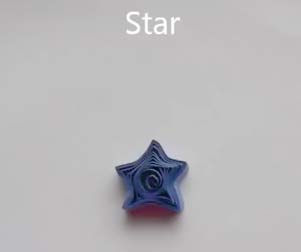
The star is another variation of what you can do with the loose coil
Pinch one end of the loose coil to form the first of the five points on the star
Then pinch out the second point
Carefully pinch out another two points and the fifth point will be created naturally
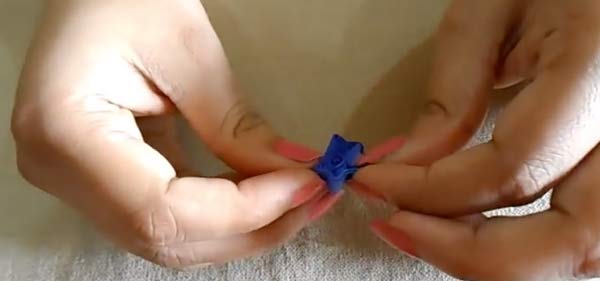
After a few fingertip adjustments you have a basic quilling star shape.
Basic Quilling Shapes for Beginners – Easy as ABC!
As you can see there are a multitude of shapes you can create from a basic loose coil. there are others that we have not featured such as triangle, rectangle and some variations on teardrops and hearts. You can see all there on the following video which features all the shapes listed above.
Once you have mastered these basic shapes you are well on your way to creating a quilling masterpiece. the beauty of this particular paper craft is that it’s not rocket science and it can be used to great effect.