Making a quilled vase of miniature carnations may seem difficult until you see how its done. The construction is really simple with basic quilling techniques and doesn’t take long to complete. Yoyomax12 have created some great quilling designs step by step on Youtube (full video for this project at the end of this article). Here are the steps you need to take.
First – create the flower pot and dish
Glue two pieces of quilling paper ( 2 x [24″ x 1/8″]) together to make a single strip 48″ long and wind it up with the quilling tool to a nice tight coil.
Place a dab of glue at the end and secure before taking the coil off the quilling tool and allow to dry.
Repeat the process to make an identical coil. One will be the plant pot. The other the plant pot dish.
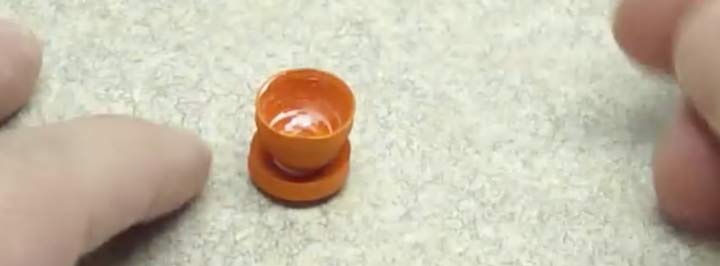
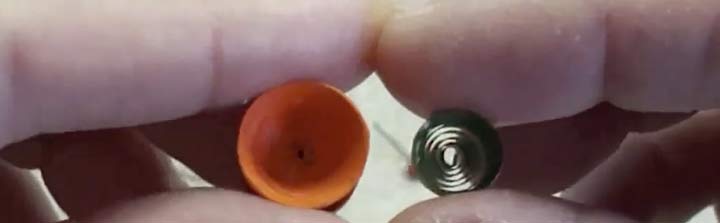
Take one coil and push the centre outward using your finger and the blunt end of the quilling tool to form the plant pot. Place the pot on a flat surface and press down inside the pot with the quilling tool to make sure it has a firn flat base.
Take the other coil and gently push the centre down to create the plant pot dish.
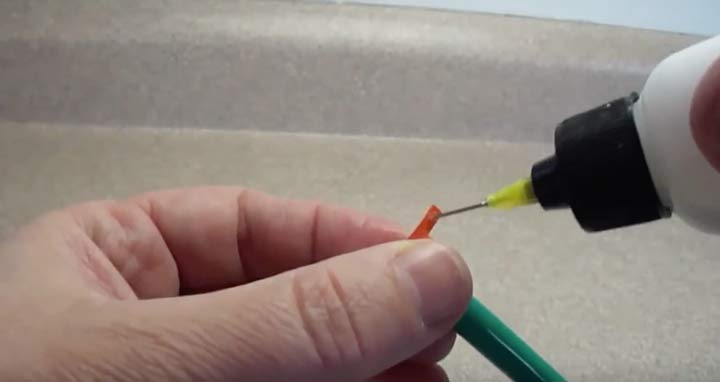
Spread glue over the edge of the plant pot dish to stop the coils from seperating and a blob of glue to join the plant pot to the dish.
Spread glue over the inside of the plant pot to stop the coils from seperating.
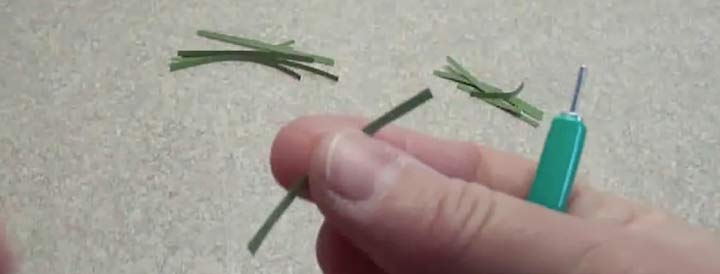
Using 1/8″ green quilling paper create 8 x 1″ lengths and 8 x 2″ lengths. It is advisable to take a thin strip off each length to make them slightly narrower that 1/8″.
With the quilling tool coil create a ‘scroll’ at one end of each strip to create a leaf.
Tease out the scroll to give a variety of leaf shapes and scroll sizes.
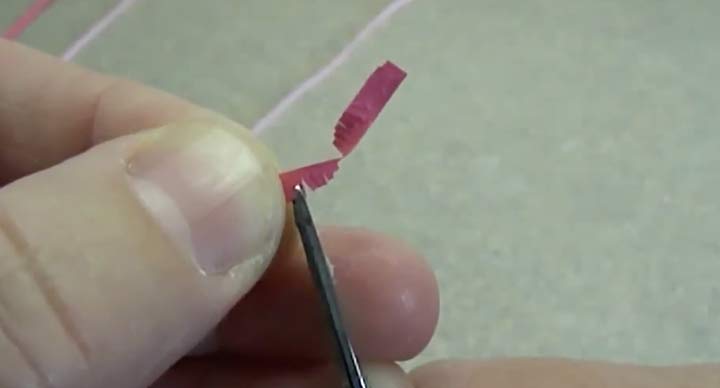
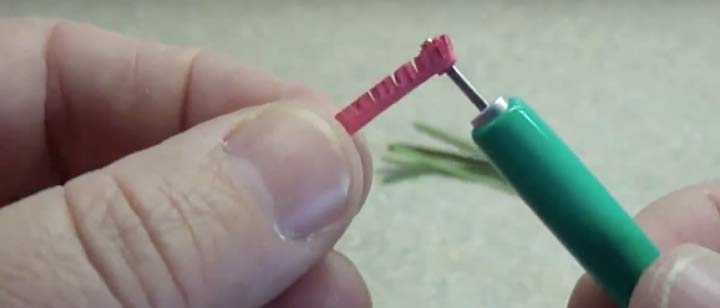
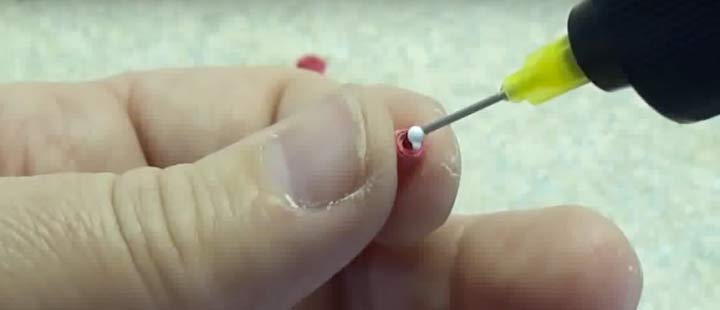
Using 24″ (x 1/8″) pink quilling paper cut the strips to form a ‘fringe/ along the entire length…
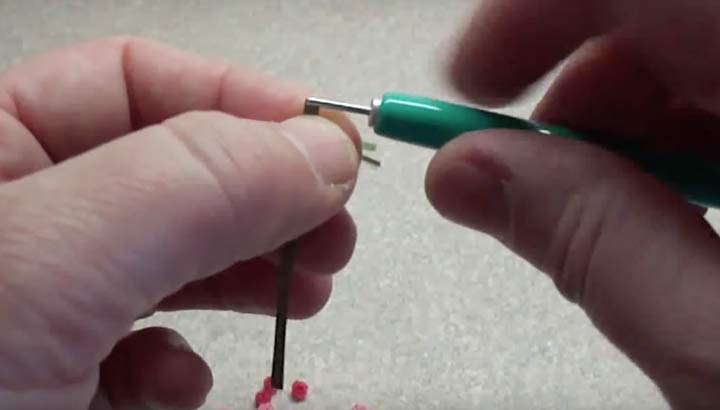
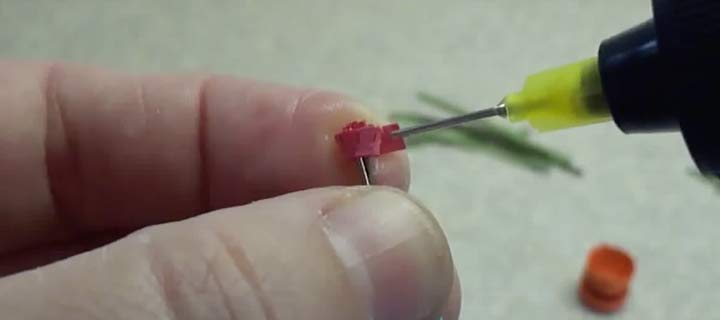
Cut the 24″ fringed strip into 3″ lengths and wind up each short fringed strip on the quilling tool into a very tight coil forming the carnation head…
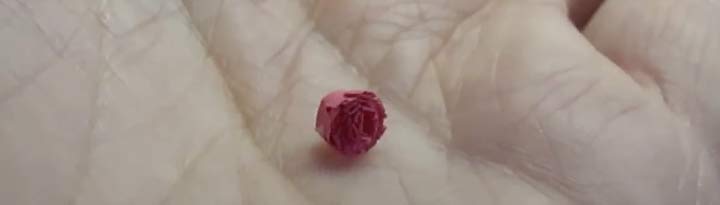
Glue the end of the coiled strip…
…and allow to dry. Repeat this with a slightly contrasting color such as red so you have red and pink carnations.
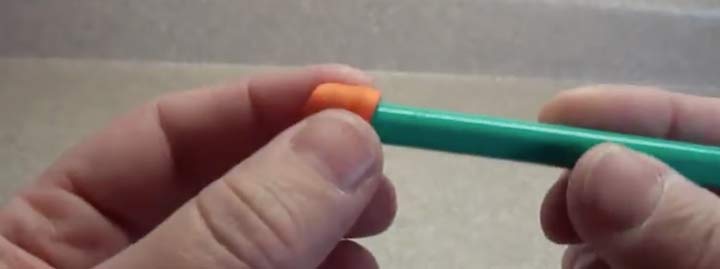
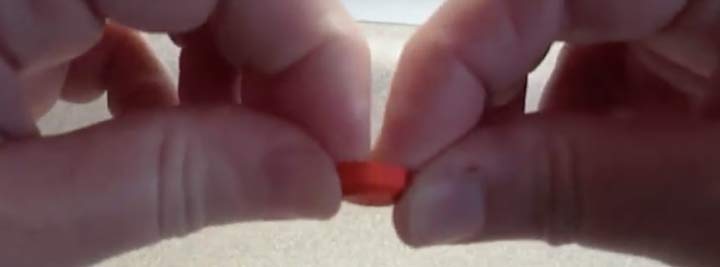
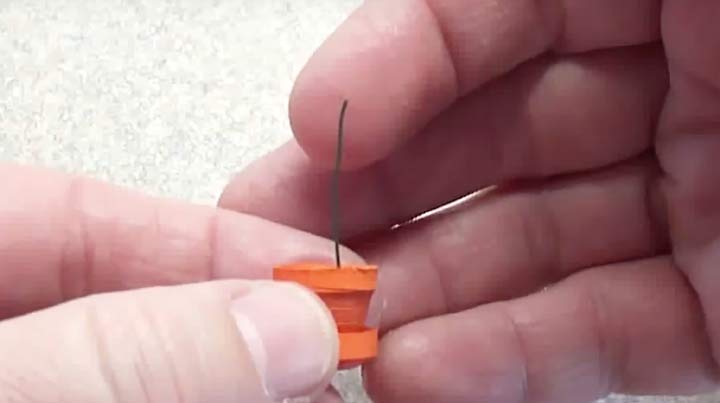
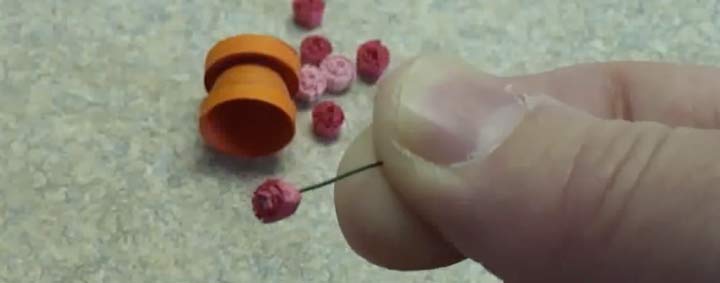
Create the flower stalks with florisys wire…
Cut each ‘stalk’ a skightly different length…
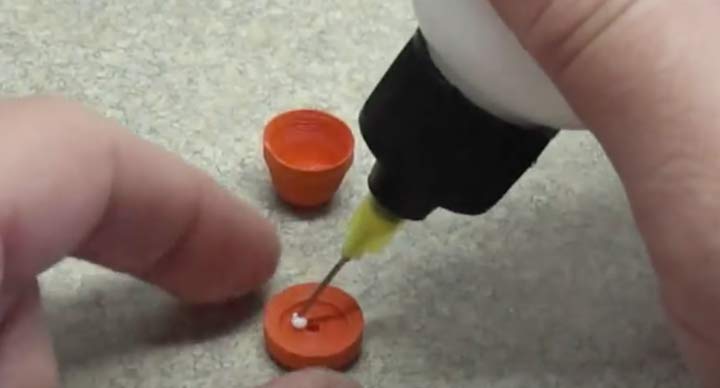
Add a spot of glue to each flower head…
Push the florist wire ‘stalk’ into the flower head and glue…
…and allow to dry.
Next create a loose coil of green quilling paper…
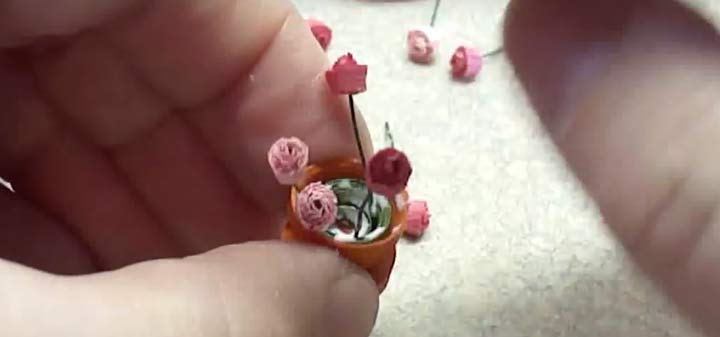
…and glue it into the base of the pot. This will anchor the stalks and leaves into the pot.
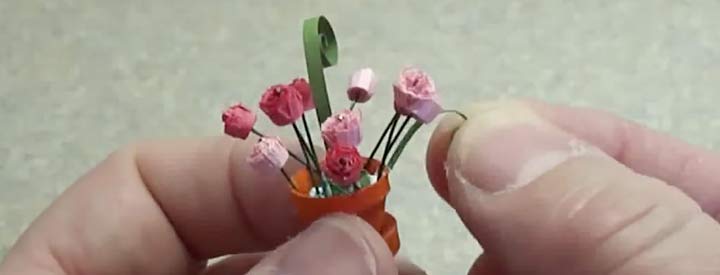
Add plenty of glue into the coiled ‘anchor’ within the pot begin interting the flowers and leaves.
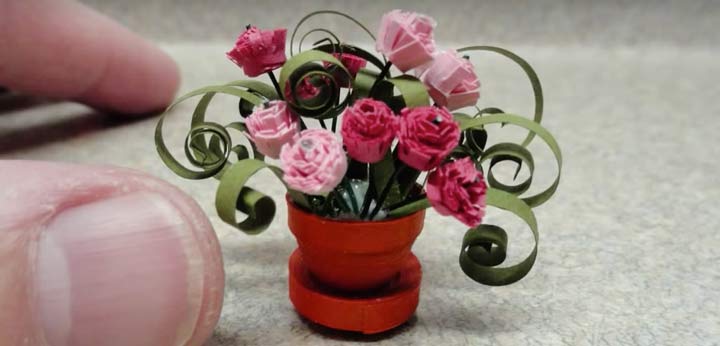
Build up the pot with more leaves and flowers until you are happy with it and leave it to set in the glue. The glue will set clear.
And there you have it – a miniature vase of carnations.
If you are just starting out and wondering where to buy quilling supplies here are five top rated sets for you to dive into the fascinating craft of quilling [more…]