Turning cartoons into driftwood figures 2D to 3D
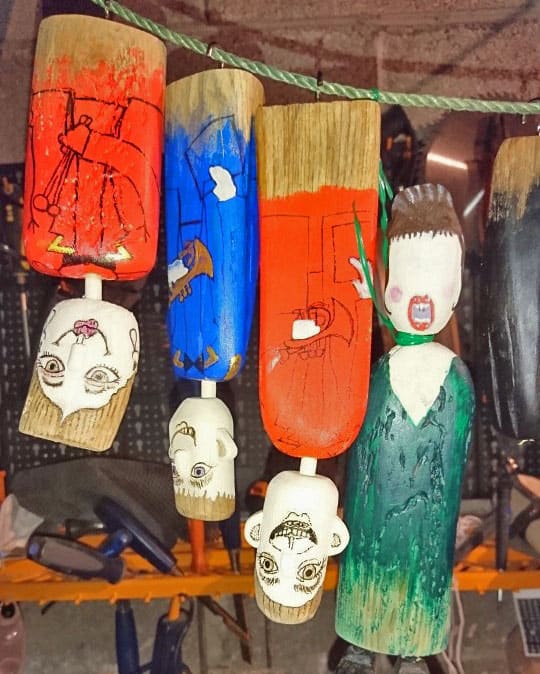
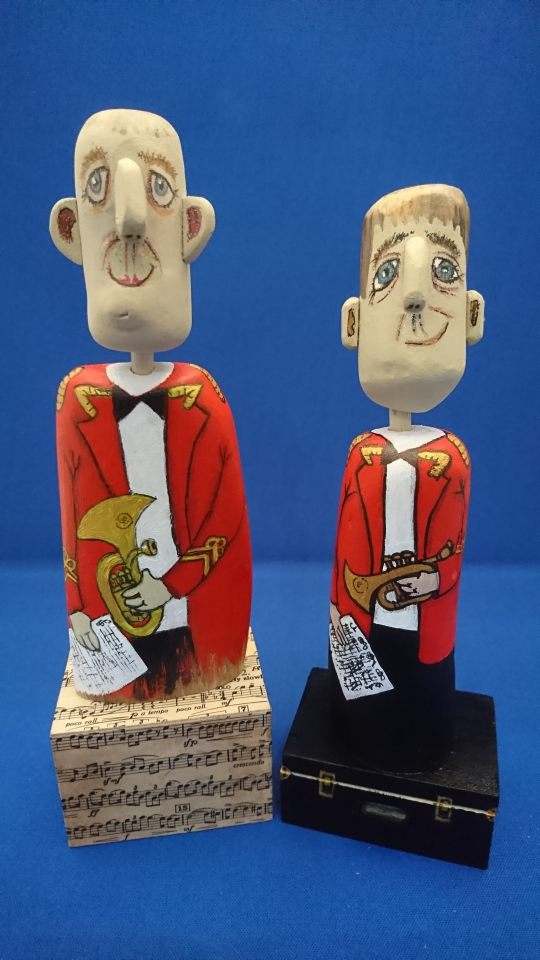 I recently interviewed the Cornish artist Kirsty Elson about her work creating fabulous pieces of art from driftwood sourced from her local beach. I had seen other artists who make figures out of driftwood and decided to combine my hobby as a member of a UK Brass band with this ‘woody’ art form.
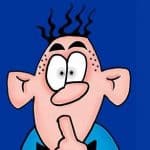
I have been producing brass band cartoons for Brass Band World Magazine since 2002 and more recently write a satirical article for the same magazine accompanied by my cartoons. The thought of taking a cartoon figure ‘off the page’ was irresistible. I knew it would involve learning new skills in woodcraft and I couldn’t wait to get started.
I tried sourcing driftwood by going to several beaches in South and West Wales and had some success but just couldn’t find the amount I wanted. I looked on line and there is an abundance available on Amazon, E Bay and many other individual web sites. Not only was it available but very cheap considering the time, effort and cost I would have had to put in sourcing it from the coastline. Time which would be far better spent making the figures.
I ordered several bundles of driftwood from all over the UK and then realised I needed tools! This was the painful part as my wallet emptied rapidly to buy various carving tools, a bench sander and a cross cut saw. The other items I needed unfolded as I progressed. Dowling and glue to attach heads and feet . Packaging as I would be selling the finished products. Youtube is a great learning source but for this project there was nothing specific enough for me – so it was off to the academy of trial and error!
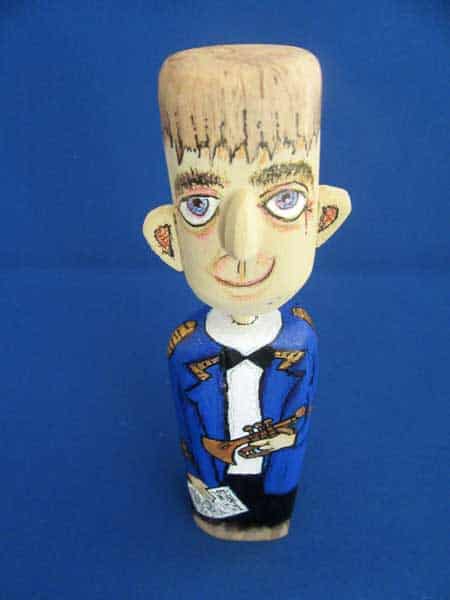
I aimed for each figure to be between 6-9 inches high – able to stand upright and each one absolutely unique. A figure that could be bought by a brass band enthusiast as a gift or ornament.
The process I have developed is pretty straight forward.
 Driftwood Figures Body
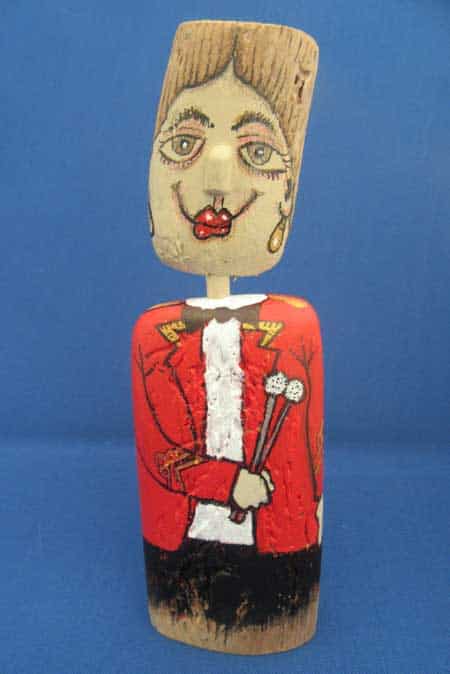
I pick a piece of drift wood that can be cut and shaped to the required size and is substantial enough to be able to stand on its own. I Make sure it is perfectly clean and then dried for a few days. I do a rough sketch of the design making sure I decide where to leave the natural grain of the wood exposed and where to paint on the figure and when happy with the layout use a fine line permanent black marker pen drawing directly onto the wood.
With the hands, instrument and uniform mapped out I fill in the larger areas of colour which may take a coat or two depending on the nature of the woods surface. I use acrylic paint as it has quick drying qualities and is very forgiving if you make errors as you can paint straight over – even in a completely different colour.
I usually fit a small screw thread hook to the base so that in between drying coats i can hang the body on a string so that it is well out of the way of anything and cannot topple over and get damaged.
Driftwood figures Head
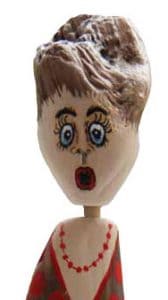
The head can be made from smaller pieces and I often look for sections of tree branches that have unusual feature that can be incorporated into the design. Knots and broken ends can often make fantastic hair designs for the figures.
The The head on this figure was the end of a driftwood branch which had the broken end, smoothed out with time in the sea to make a perfect hair do. All I had to do was shape the lower part of the face before painting and attaching to the driftwood body. I also kept the natural wood grain in the hair, boosted with a thin layer of clear varnish to make the grain pop out!
It just takes a bit of imagination to see what you can do with a rough piece of washed up timber. I would advise you to look at a piece of drift wood from several angles – turning it upside down and around can often make an idea jump out.
I attach the head and body by carefully drilling to insert the wooden dowling which I secure with Gorilla Glue. be very careful when drilling to have each section rock solid in a vice with plenty of padding (not to damage the wood).
Holding the wood and attempting to drill with the other hand is not only dangerous but one slip can result in having to throw the whole lot away. It is essential to make the drilled hole as precise as possible so that the dowling is a reasonably tight fit enabling the glue to work to its optimum strength.
Driftwood figures plinths
I have created plinths in some cases which work and have either painted or applied a design. The best option for this is balsa wood which you can get online as it can be purchased with a great finish to apply either overlaid designs or paint.
Drift wood figures additional Information
To get more detail I have added coloured pencil to some of my figures. Seal this onto the surface is essential and I usually apply a spray varnish, either a gloss or matt finish depending upon the desired outcome.
Any paint or varnish applied should be allowed to dry fully to prevent dragging or unwanted mixing. To optimise time I usually batch a number of figures so I am either working on one aspect, such as paining heads or can work between different stages with several figures so work time is not interrupted. This takes time to perfect but once I had made a few it became second nature.
My brass band figures also have quite a lot of gold braiding on the uniforms and the instruments themselves are either gold or copper. This is something I leave till all other colours have been applied as metallic colours tend to dull with handling.
Seeing a cartoon figure emerging from pieces of wood washed up on the shores of Britain is a very rewarding art form which I really enjoy doing.
If you have any questions please send me a message through the contacts page

